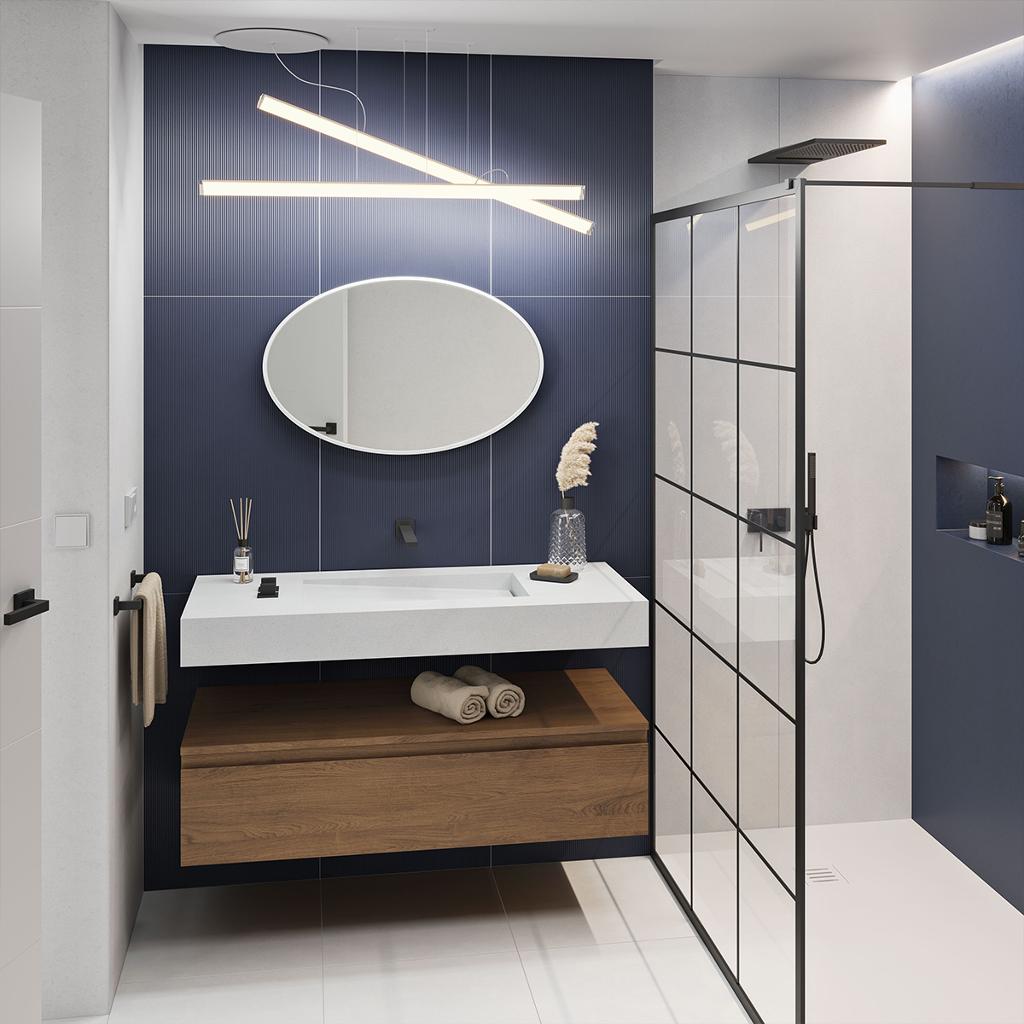
DIY Bathroom Remodelling
Designing and installing your own bathroom—without the help of a fitter or tiler—can be a fun, rewarding project. Think carefully before undertaking a DIY approach to bathroom remodelling, though—there’s a lot to consider. That’s why we’ve devised this guide to help you with the process.
Contents
The benefits of DIY remodelling
The pitfalls of DIY remodelling
DIY bathroom remodelling in 10 steps
The benefits of DIY remodelling
There are three big benefits to putting in your own bathroom, which make it an exciting prospect:
- You’ll save money—great if you’re luxury remodelling on a budget.
- You’ll learn transferrable skills—plumbing and tiling skills are also useful in the kitchen, and interior design skills throughout the whole home.
- You’ll be in control—the quality of the finishing will be down to you and no one else.
So, if you love the idea of fitting a bathroom cheaply but to the highest standards, doing it yourself is well worth considering.
The pitfalls of DIY remodelling
Of course, there are also risks associated with DIY remodelling, renovating and restoring. These potential pitfalls put many people off installing their own bathrooms, so they’re worth taking into account:
- Amateurish finishing—achieving a professional finish on things like tiling and caulking is difficult and DIY bathrooms can end up looking scruffy, as a result.
- Getting it wrong—if you over-tighten a coupling on a water pipe and it cracks, for example, you’ll probably have to call your local plumber to come fix it.
- Spending more than if you’d never done it yourself—the more you have to fix your mistakes (or get someone else to), the more time and money you’ll spend, so it could work out more time- and cost-effective to hire a construction expert.
Once you’ve taken these aspects into consideration, you’ll know whether or not you wish to proceed yourself. If you do, great! It means you’re going into it with your eyes open and likely to be much more careful, as a result.
DIY bathroom remodelling in 10 steps
Which order should you do the various jobs in your bathroom? Knowing this will help you to avoid the various potential pitfalls of DIY installation. Here are the steps you need to take.
- Demolition
Don’t build or install anything until you’ve finished demolishing everything that needs to come out. Demolition is messy and could ruin any new fixtures and fittings prematurely installed.
- Electrics
If you’re rewiring your new bathroom, you’ll probably need to cut holes into the plasterwork or hide it behind plasterboard, so this is the first installation job to be done—you’ll also need to have it approved by an electrician so that it’s legal.
- Re-piping
If your old pipes are worn out or if you’re moving fixtures and fittings around, it’s important to do them before any other installation work takes place as they’ll need to be covered up. Also, it must comply with Water Regulations Advisory Scheme (WRAS) guidelines, so have it checked out by a qualified plumber when you’re finished.
- Plastering
Now that the electrics and new piping is in, you can plaster the walls ready for the plug sockets and tiling. Doing it now will stop you spoiling any fixtures and fittings, because plastering is a dirty job.
- Pluck socket covers and light switches
Once the plastering is done, the plug socket covers and light switches (the first ‘finishes’ in your bathroom) can be screwed in, ready for the space to be tiled.
- Wall tiling
If you’re tiling the walls, now is the time to do it (before the flooring, which should wait until as late as possible so that it doesn’t get walked over with dirty shoes). This is the point at which your bathroom will start to look like one!
- Floor tiling
A luxury bathroom will likely have lots of freestanding bathroom furniture so the floor tiling will likely be wall-to-wall rather than fitted around the fixtures. This means you’ll tile the floors before you install the furniture.
- Bathroom furniture and taps
Install your toilet first (so you can use it). Then install the bathtub, which is one of the biggest jobs. Install your washbasin or vanity next, then all the taps—bathtub, shower and basin.
- Shower tray and screen
Glue and caulk in your shower tray (if you’re having one) and then install your shower screen. Your bathroom will now be fully ready to use, though there’s one final step to take.
- Cabinetry
Whether you’re choosing fitted or freestanding bathroom cabinets, they represent the final process in your DIY bathroom remodel. The reason to leave them until last is that they don’t stop you from actually using your bathroom, so they’re considered the least functionally important—even though they give you essential storage and help bring personality to the space.
If you’re remodelling your whole home—not just the bathroom—it’s important to figure out the order of business for the entire home, too. Check out our guide to that, here.
Looking for something else to read? Take a look at our guide to Pitfalls to Avoid when Remodelling Your Bathroom.